What This Means for Your Project
The capability details below are intended to help engineering, quality, and sourcing teams evaluate execution reliability.
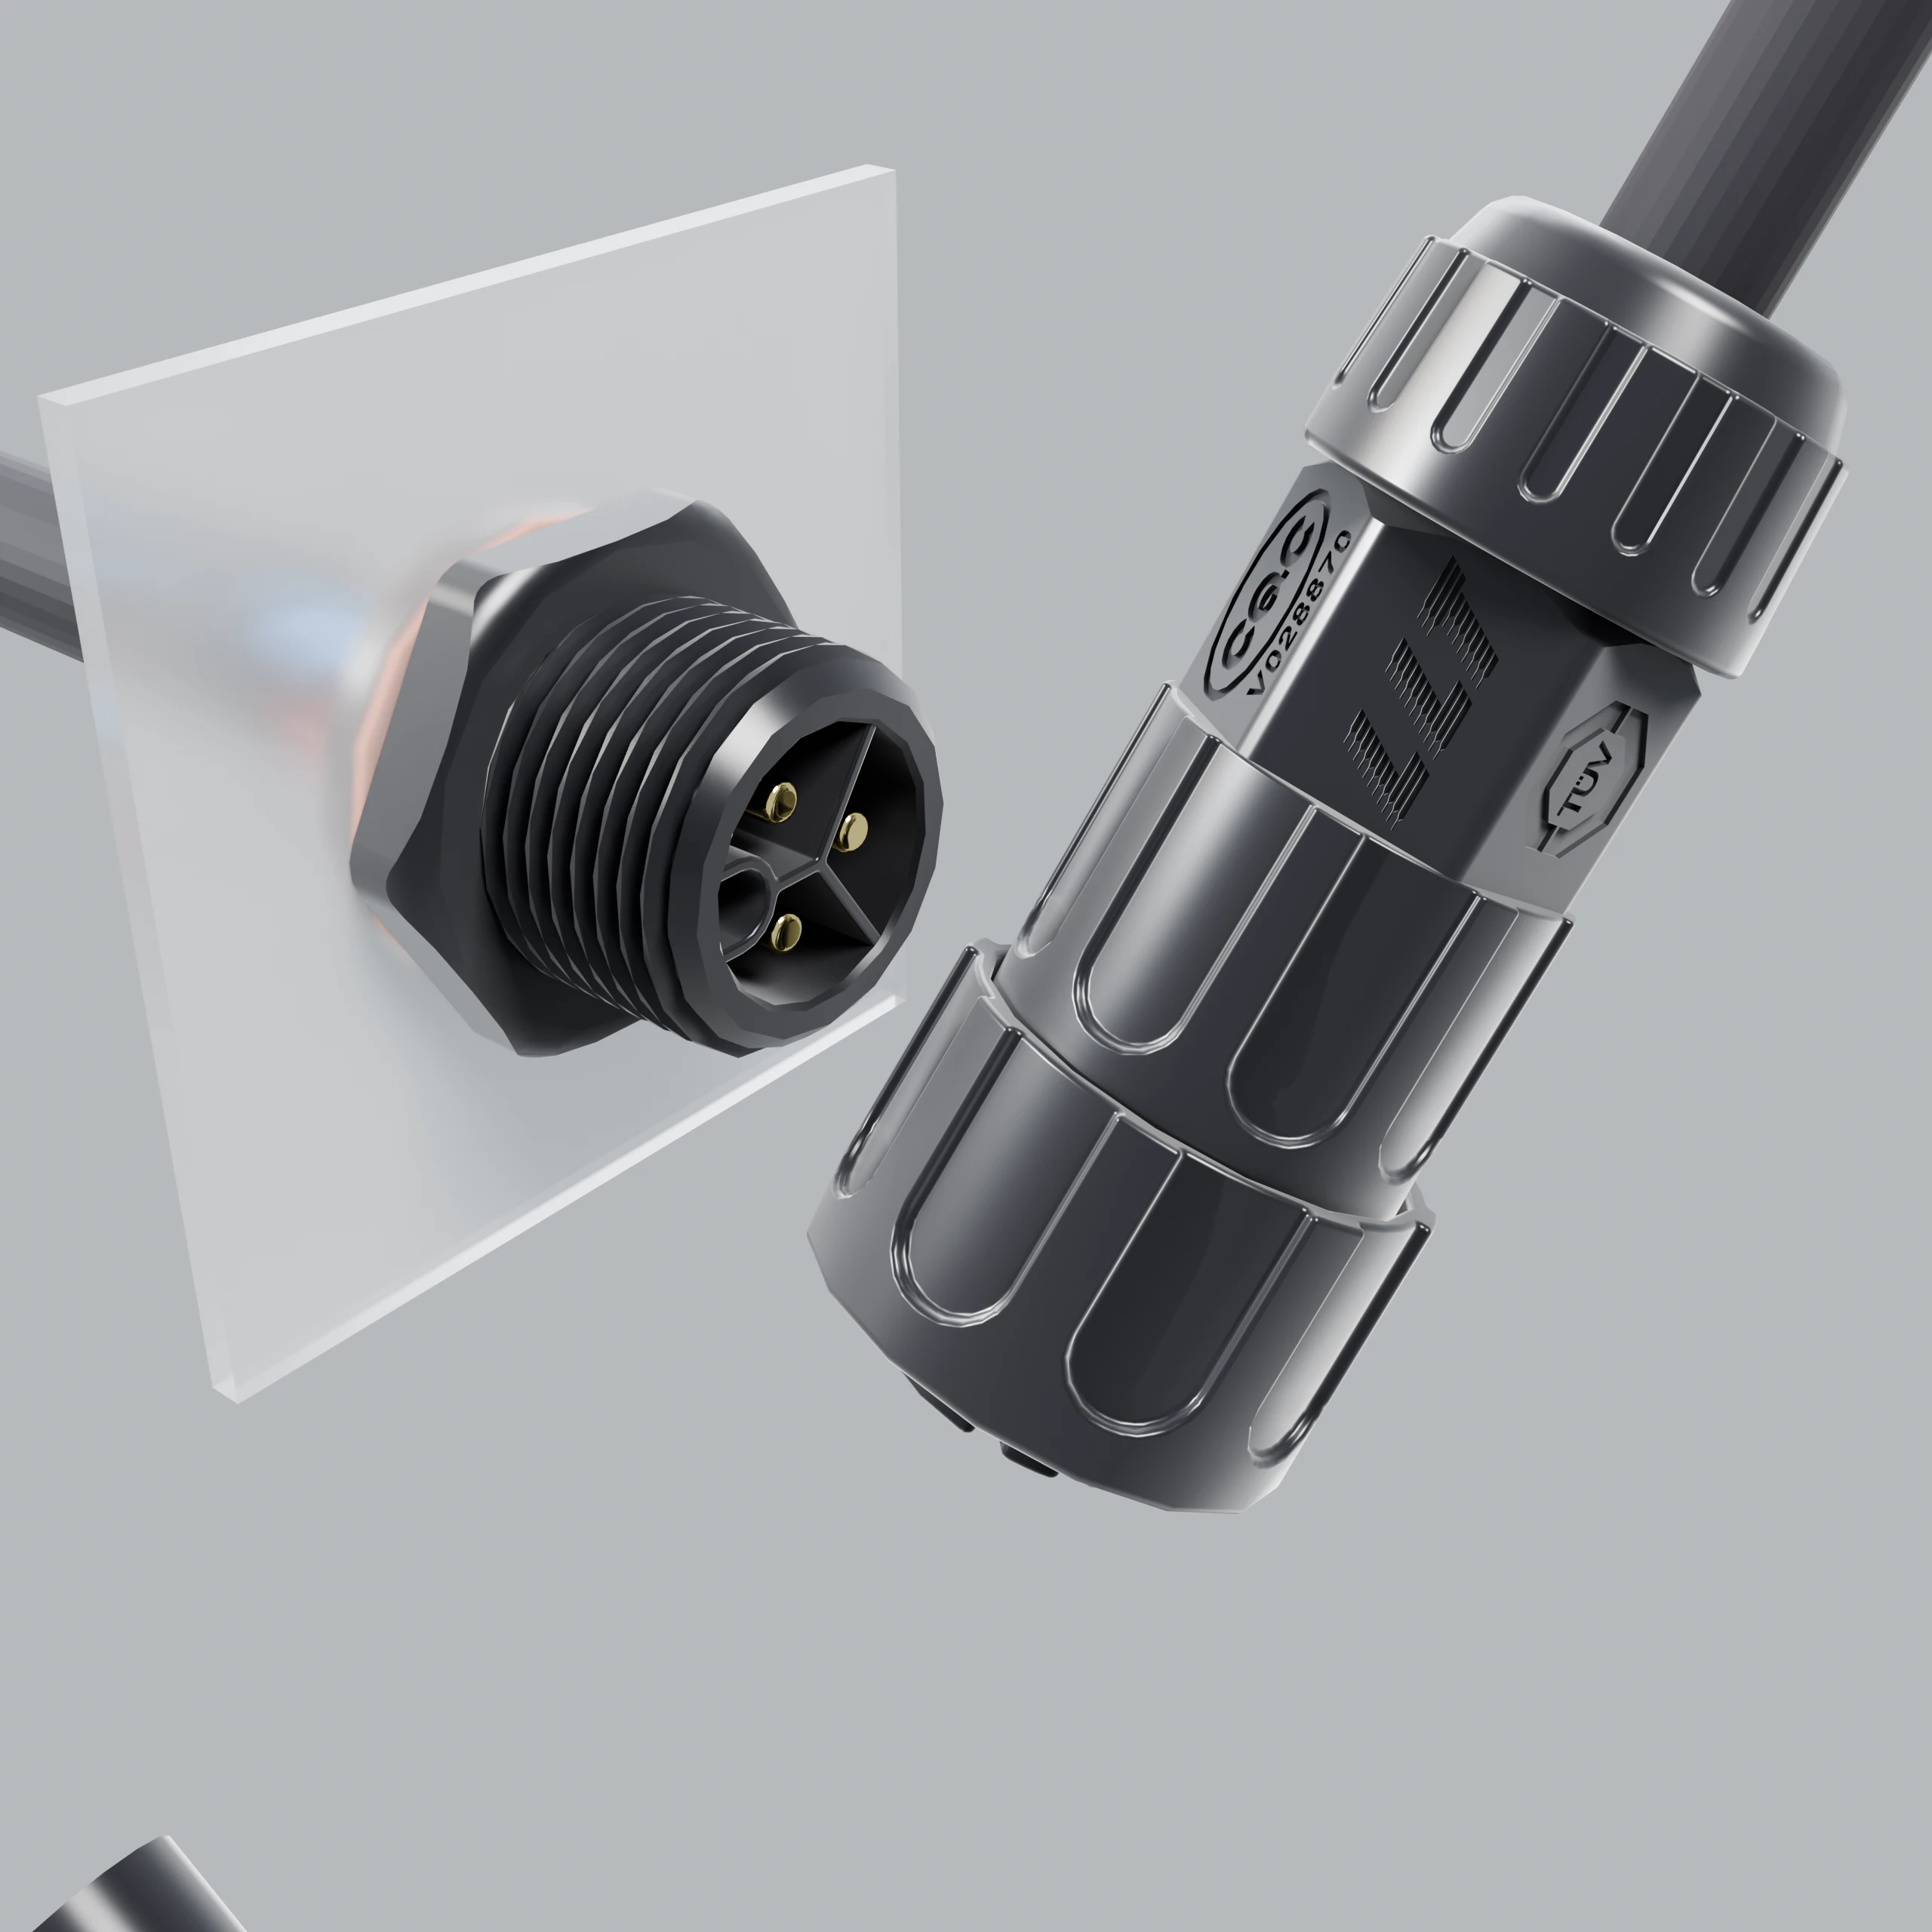
01
Requirement intake and parameter lock.
02
Structure proposal and drawing alignment.
03
Prototype build and baseline testing.
04
Issue closure and pilot confirmation.
Closed-Loop Development Flow
Custom connector programs are managed as a requirement-to-release loop with explicit checkpoints at each stage.
Scope Definition
Application environment, electrical boundaries, and installation constraints are fixed before solution branching.
Prototype and Validation
Prototype output is judged against agreed checkpoints rather than generic sample acceptance.
Release and Iteration
Abnormal findings trigger isolation, corrective action, and re-verification before shipment progression.
Execution Flow
- Requirement intake and parameter lock.
- Structure proposal and drawing alignment.
- Prototype build and baseline testing.
- Issue closure and pilot confirmation.
- Mass-production readiness and controlled release.
Critical Control Points
- Pin insertion force
- Mating-gap verification
- Molding completeness
- Lock depth
- O-ring compression state
- Terminal contact resistance
- Pressure / insulation / withstand checks
- Cut length
- Strip length
- Conductor condition
- Color / sequence consistency
- Crimp quality
- Solder quality
- Electrical validation
- Batch archive and release logic
- Abnormal isolation + CAPA + re-verification
Need a custom development roadmap for your project?
Send your scenario, constraints, and timeline target for a staged execution proposal.
Build Custom Workflow